Introduction to Pumpkin Crisp
As the leaves turn and the temperature drops, it’s time to embrace the cozy flavors of fall. One delightful treat that captures the essence of the season is pumpkin crisp. This warm, spiced dessert is not only a crowd-pleaser but also incredibly easy to make, making it the perfect addition to your autumn gatherings and weekday dinners alike.
Why Pumpkin Crisp is the Perfect Homemade Treat
Imagine this scenario: you’ve had a long day and all you want is a comforting dessert that sings of fall flavors. That’s where pumpkin crisp comes into play. It combines the rich taste of pumpkin with a crunchy topping that adds texture and sweetness. Plus, it’s a versatile dish. Serve it warm with a scoop of vanilla ice cream for an indulgent finish or enjoy it plain as a guilt-free snack.
Another reason to love pumpkin crisp? It’s packed with nutritional benefits. Pumpkins are rich in fiber, vitamins, and minerals, making them an excellent addition to your fall diet. A single cup of pumpkin contains over 200% of your daily Vitamin A needs and is low in calories, meaning you can indulge without the guilt.
Not to mention, this dish is incredibly approachable for both beginners and experienced bakers alike. With just a handful of ingredients and minimal equipment required, you can whip up a stunning dessert that looks like it took hours to prepare. If you’re curious about how to make this delightful dessert, you can explore similar recipes at well-known sites like Food Network or BBC Good Food.
What’s more, you can easily customize this recipe to suit your taste. Want to add nuts for extra crunch? Go for it! Perhaps a splash of maple syrup for added sweetness is calling your name. The possibilities are endless, making pumpkin crisp not just a treat, but a canvas for your culinary creativity.
So, roll up your sleeves, gather your ingredients, and get ready to dive into the delightful world of pumpkin crisp. You’ll not only satisfy your sweet tooth but create warm memories that last a lifetime.
Ingredients for Pumpkin Crisp
Creating the perfect Pumpkin Crisp begins with the right ingredients, ensuring that each layer is packed with flavor. Let’s break it down:
Essential Components for the Pumpkin Pie Layer
The foundation of your Pumpkin Crisp is a delicious and creamy pumpkin pie filling. For this, you’ll need:
- Canned pumpkin puree: This is your star ingredient—opt for 100% pure pumpkin, not the spiced pie filling.
- Granulated sugar: Sweetens the filling just right.
- Brown sugar: Adds a lovely depth and caramel flavor.
- Eggs: Bind everything together and give your filling that perfect texture.
- Cinnamon, nutmeg, and ginger: These spices give your dish that warm, comforting taste.
- Evaporated milk: Creates a creamy consistency that enhances the overall texture.
For a deeper dive into the benefits of using pumpkin puree, check out this source from Healthline.
Ingredients for the Cinnamon Streusel
The streusel topping adds a delightful crunch to your Pumpkin Crisp. Gather these ingredients:
- Oats: Old-fashioned oats work best for that satisfying chew.
- All-purpose flour: For structure in your topping.
- Brown sugar: Reinforces the caramel notes found in the filling.
- Butter: Use cold, unsalted butter to achieve the perfect crumb texture.
- Cinnamon: A sprinkle of this spice ties everything together and complements the pumpkin filling.
To elevate your streusel, consider incorporating some walnuts or pecans for added crunch!
Gather these ingredients, and you’re all set for a delightful baking experience that will impress your guests and satisfy your cravings!
Step-by-step Preparation of Pumpkin Crisp
Creating a pumpkin crisp is a delightful way to embrace the fall season. This sweet and crunchy dessert offers the warm flavors of pumpkin pie with the added texture of a buttery streusel topping. Let’s dive into the step-by-step preparation process to ensure your pumpkin crisp is a hit at any gathering.
Gather and Prepare Your Ingredients
First things first, gather all the ingredients you’ll need. Having everything in one place can make your cooking experience smoother and more enjoyable. Here’s what you’ll need:
-
For the Pumpkin Layer:
-
1 can (15 oz) pumpkin puree (not pumpkin pie filling)
-
3/4 cup granulated sugar
-
1/2 cup packed brown sugar
-
2 large eggs
-
1 cup evaporated milk
-
2 teaspoons vanilla extract
-
1 teaspoon ground cinnamon
-
1/2 teaspoon ground nutmeg
-
1/4 teaspoon salt
-
For the Streusel Topping:
-
1 cup old-fashioned oats
-
1 cup all-purpose flour
-
1/2 cup packed brown sugar
-
1 teaspoon ground cinnamon
-
1/2 cup unsalted butter, melted
Once you have your ingredients, it’s time to move on to the fun part!
Whisking the Pumpkin Pie Layer
Now that you have everything ready, let’s focus on making the pumpkin layer. In a large mixing bowl, combine the pumpkin puree, granulated sugar, and brown sugar. Using a whisk, beat in the eggs one by one until fully incorporated. Gradually add the evaporated milk, vanilla extract, cinnamon, nutmeg, and salt. Keep whisking until the mixture is silky smooth without any lumps.
Fun tip: Involving a friend in this step can make the process quicker and more enjoyable. You can also check out this guide on baking tips for extra ideas on perfecting your batter!
Making the Cinnamon Streusel Topping
With your pumpkin layer mastered, it’s time to create that delicious streusel topping. In a separate bowl, mix the oats, flour, brown sugar, and ground cinnamon. Once well blended, pour in the melted butter and mix until the mixture is crumbly. You want that perfect combination of buttery goodness and texture for your topping—it should resemble coarse crumbs.
If you prefer a nutty twist, consider adding chopped pecans or walnuts for a little extra crunch.
Assembling the Pumpkin Crisp
Now for the fun part—assembling your pumpkin crisp! Preheat your oven to 350°F (175°C). Pour the pumpkin mixture into a greased baking dish (a 9×13-inch pan works beautifully). Evenly sprinkle the streusel topping over the pumpkin layer, ensuring every bit is covered for that perfect crispiness.
As you layer, envision the mouths that will water at the sight of your dish. It’s a great moment to snap a picture for your social media!
Baking to Perfection
Place your assembled dish in the preheated oven. Bake for about 45-50 minutes, or until the edges are set and the top is golden brown. As it bakes, your kitchen will fill with the inviting scents of spices and warm pumpkin—dare you to resist sneaking a taste!
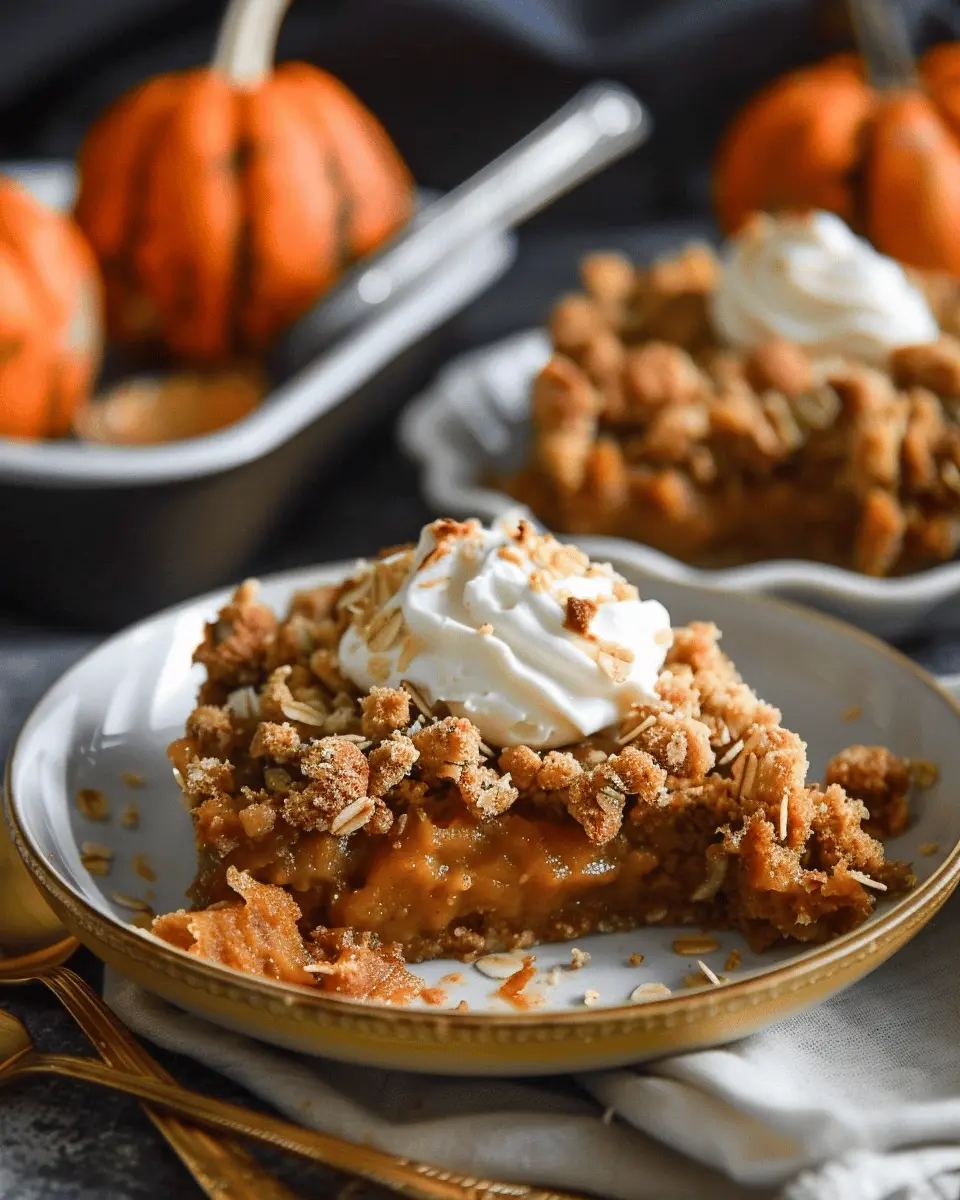
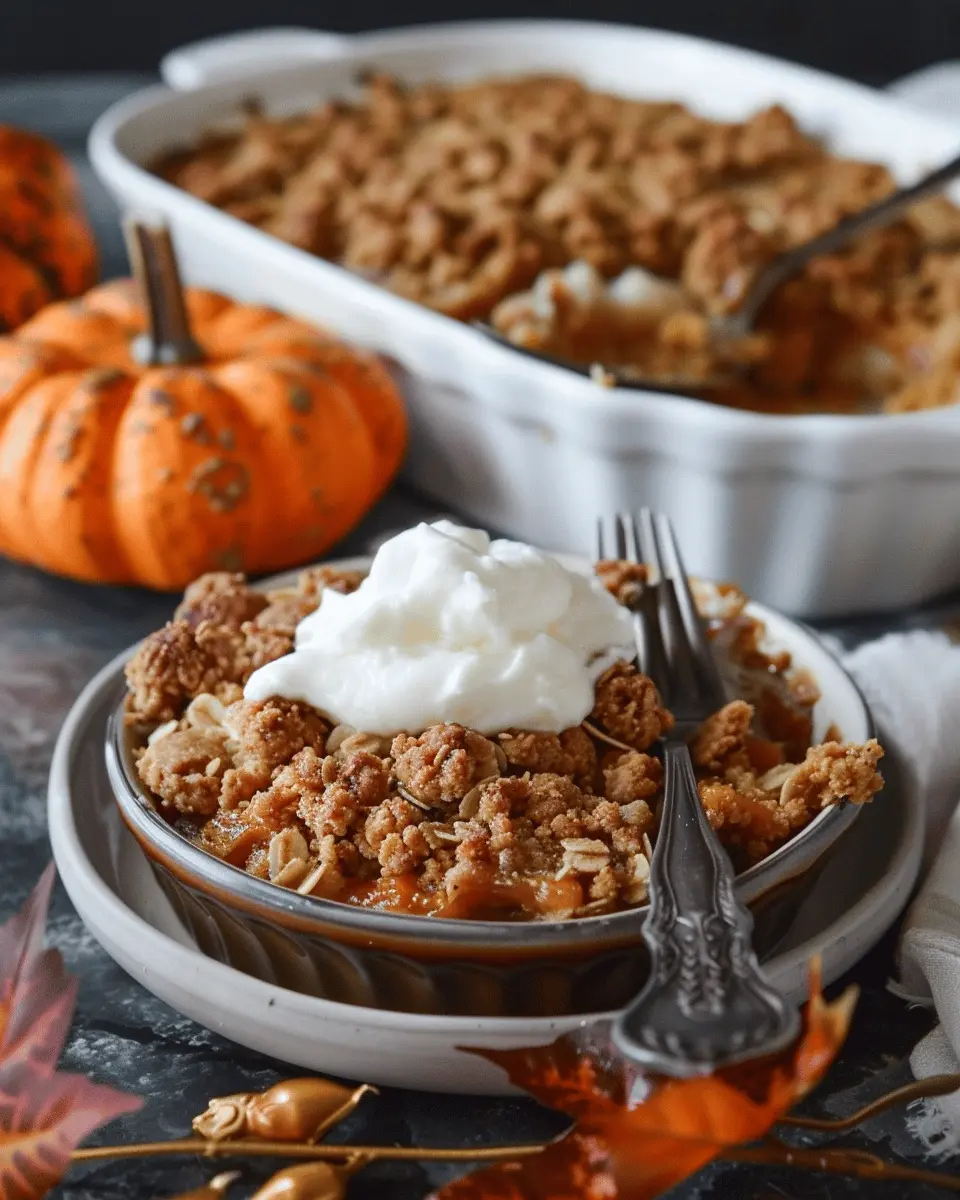
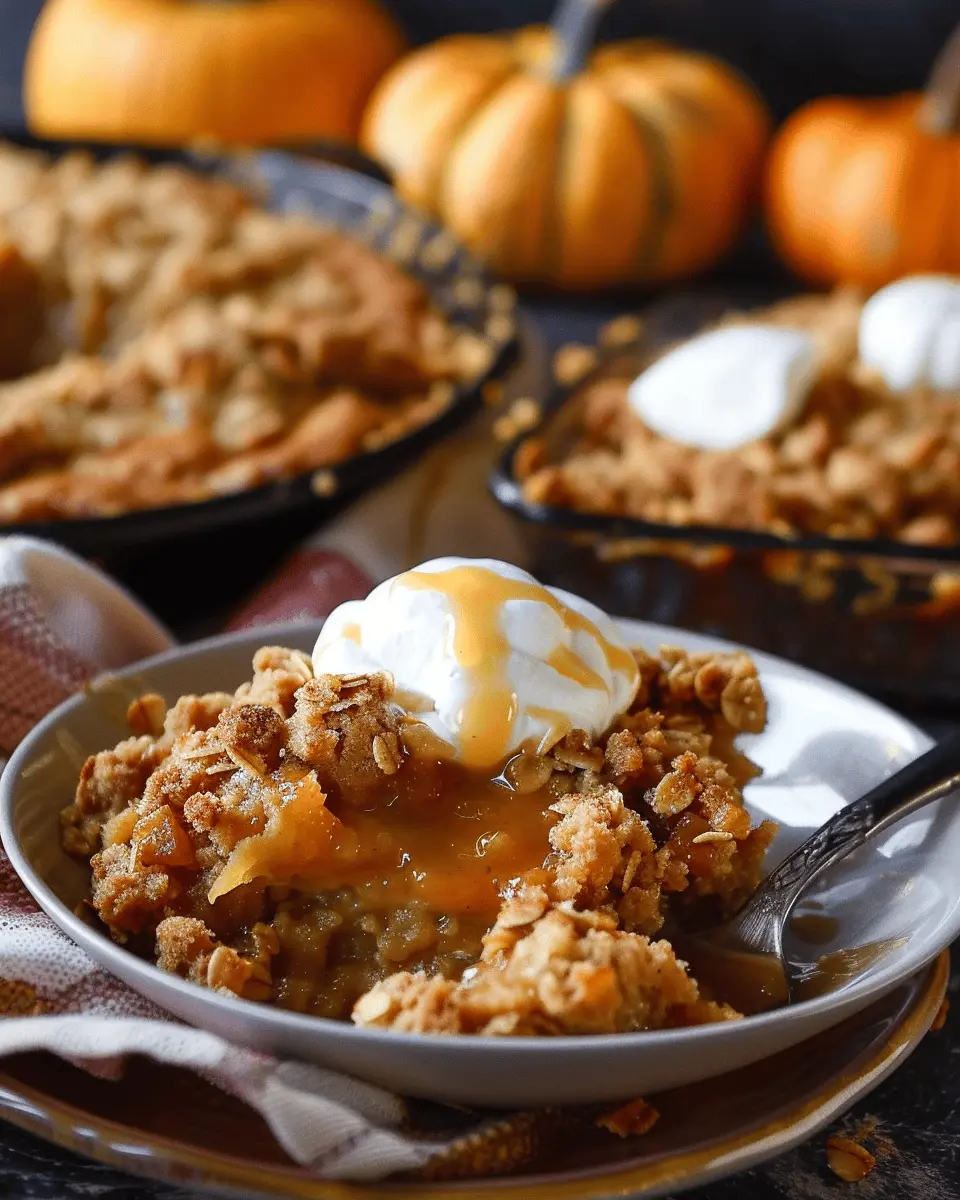
Once you pull your pumpkin crisp from the oven, let it cool for just a few minutes. This is tough, we know! But letting it cool helps enhance the flavors and makes serving easier. Serve warm with a dollop of whipped cream or a scoop of your favorite ice cream for a heavenly finish.
There you have it—your step-by-step guide to making a stellar pumpkin crisp! Enjoy the process, and don’t forget to share your scrumptious results with family and friends. Happy baking!
Variations on Pumpkin Crisp
Pumpkin crisp is a beloved dessert, but did you know there are exciting variations that can cater to different dietary needs? Here are two ideas to make this delicious dish inclusive for everyone at the table.
Vegan Pumpkin Crisp Alternative
If you’re looking to whip up a vegan pumpkin crisp, you can easily swap out the traditional ingredients for plant-based alternatives. Instead of using dairy milk, opt for almond, coconut, or oat milk. For the buttery topping, try using vegan butter or even coconut oil to maintain that delightful crispiness.
To create this vegan version, you might consider:
- Using flaxseed meal or chia seeds mixed with water as an egg substitute. Just combine 1 tablespoon of flaxseed meal with 2.5 tablespoons of water (let it sit until it thickens).
- Additional spices like nutmeg or ginger to elevate the flavor profile. These can complement the pumpkin beautifully.
This version not only retains the rich flavors but also appeals to a wider audience. For more vegan options, check out the Vegan Society for tips on ingredient substitutions.
Gluten-Free Pumpkin Crisp Option
For those with gluten sensitivities, creating a gluten-free pumpkin crisp is simpler than you might think! Replace regular flour with gluten-free alternatives like almond flour, coconut flour, or a store-bought gluten-free flour blend. This change keeps the crisp texture intact while ensuring everyone can dig in worry-free.
When making this version, consider:
- Using rolled oats that are certified gluten-free for the topping, giving it that delightful crunch we all love.
- Adding chopped nuts or seeds for a nutritious boost and added flavor.
This gluten-free pumpkin crisp will still deliver all the cozy, autumn vibes you crave. Resources like Celiac Disease Foundation provide further insights into gluten-free baking.
No matter which variation you choose, pumpkin crisp is sure to become a staple at your gatherings!
Cooking Tips and Notes for Pumpkin Crisp
Avoiding a Soggy Bottom
No one wants a soggy bottom in their pumpkin crisp! To keep things crisp and delightful, consider a few strategies. First, ensure your pumpkin puree is well-drained; excess moisture can lead to a mushy base. You can achieve this by placing the puree in a fine mesh strainer for a bit before adding it to the mix. Also, pre-baking the crust for about 10 minutes sets a solid foundation. Don’t skip this step!
Ensuring Perfectly Golden Topping
A beautiful golden topping can elevate your pumpkin crisp from good to spectacular. Start by using cold butter when making the topping; this allows for that flaky texture we all love. If you find the topping browning too quickly, cover it with aluminum foil halfway through baking. For an extra touch, consider mixing in chopped nuts or oats for added crunch.
Experimenting with these tips ensures that your pumpkin crisp is not just a treat—it’s an experience! For more insights on how to enhance your baked goods, check out The Kitchn and Serious Eats. Happy baking!
Serving Suggestions for Pumpkin Crisp
Delicious Pairings: Ice Cream or Whipped Cream
What’s better than a warm serving of pumpkin crisp? Absolutely nothing—unless you top it with a scoop of creamy vanilla ice cream or a generous dollop of whipped cream. The cold contrast and creamy texture enhance the warm spices of the crisp, creating an irresistible dish that is perfect for any fall occasion.
If you’re feeling adventurous, try flavored ice creams like cinnamon or caramel to elevate the experience. For a lighter option, opt for homemade whipped cream with a hint of vanilla extract; it adds a freshness that complements the richness of the pumpkin.
Creative Serving Ideas for a Gathering
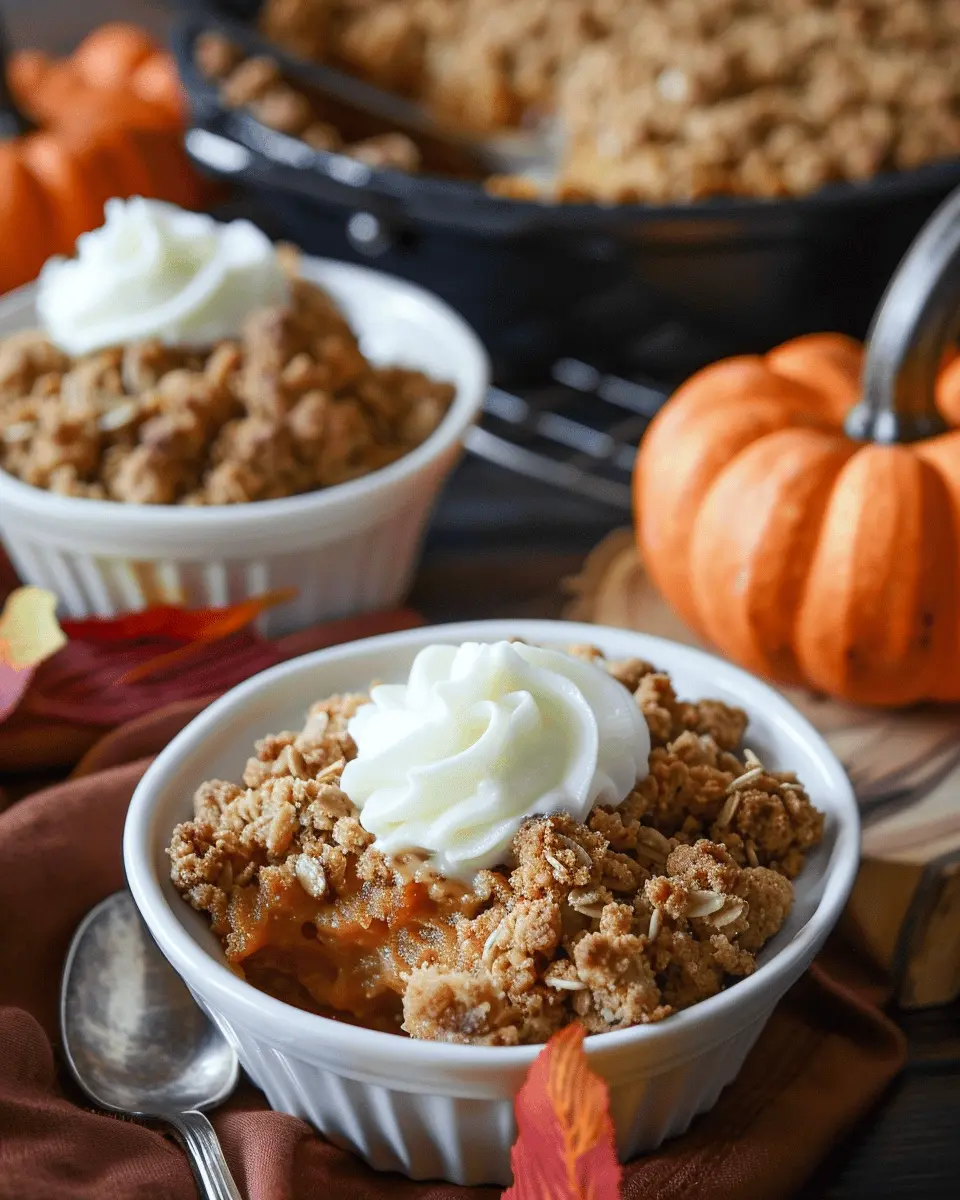
Planning a get-together? Serve your pumpkin crisp in mini individual ramekins for a delightful presentation that guests will love. Not only does this make for easy serving, but it also allows everyone to enjoy their own little dessert treasure.
You might also create a pumpkin crisp bar with toppings like chopped nuts, caramel sauce, or even chocolate chips. This fun twist encourages guests to personalize their desserts, making your gathering a memorable one.
For inspiration on dessert toppings, check out resources like Food Network for ideas that your guests will rave about!
Time Breakdown for Pumpkin Crisp
Preparation Time
Making pumpkin crisp is a breeze! You’ll spend about 15–20 minutes gathering your ingredients and mixing everything together. It’s the perfect time to throw on your favorite playlist or podcast as you chop, measure, and stir.
Baking Time
After the prep, pop your pumpkin crisp in the oven for 35–40 minutes. This is when the magic happens! The warm aromas of pumpkin and spices fill your kitchen, making it hard to wait.
Total Time from Start to Table
In just under an hour, you’ll have a delicious dessert to share or savor. With this simple time breakdown, you’ll be ready to impress at your next gathering. Need some serving ideas? Consider pairing it with whipped cream or a scoop of ice cream for added delight. For further reading on perfecting dessert timing, check out these tips.
Nutritional Facts for Pumpkin Crisp
Calories per Serving
A delightful serving of pumpkin crisp packs approximately 180 calories. This makes it a fantastic dessert option that doesn’t require you to compromise on flavor while keeping an eye on your caloric intake.
Breakdown of Key Nutrients
When it comes to pumpkin crisp, it’s not just about the calories; let’s dive deeper into its nutritional benefits:
- Carbohydrates: About 30 grams, providing energy to fuel your day.
- Fiber: Roughly 3 grams, which is essential for healthy digestion. Pumpkins are known for their high fiber content, making this dessert a filling choice.
- Protein: Around 3 grams, contributing to muscle repair and growth.
- Vitamins: Rich in Vitamin A, which supports eye health, and antioxidants that help fight inflammation.
As you indulge in this comforting dish, remember it combines the wholesome goodness of pumpkin with a sweet, crunchy topping. If you’re keen on nutrition details, check out the USDA’s FoodData Central for a comprehensive breakdown.
Feel free to explore more about the health benefits of pumpkin on Healthline. It’s no surprise this seasonal favorite is packed with nutrients and flavor!
FAQs about Pumpkin Crisp
What’s the difference between Pumpkin Crisp and Pumpkin Pie?
Though both pumpkin crisp and pumpkin pie celebrate the beloved flavor of pumpkin, they offer distinct experiences. Pumpkin pie features a smooth custard filling nestled in a flaky crust, whereas pumpkin crisp has a delightful crumbly topping made from oats, flour, and butter, giving it a streusel-like crunch. This texture contrast adds an exciting layer to each bite! If you’re curious about how they’re prepared or want to explore more pumpkin recipe variations, check out resources like The Spruce Eats.
Can I make Pumpkin Crisp ahead of time?
Absolutely! One of the best parts about pumpkin crisp is that it can easily be prepared ahead of time. You can assemble the dish a day before and store it in the refrigerator until you’re ready to bake. Simply pop it into the oven and enjoy the warm, comforting aroma wafting through your kitchen. If you prefer to bake it ahead, you can store it in the fridge after cooling; just reheat it to restore that crispy topping.
How should I store leftovers?
If you find yourself with leftover pumpkin crisp, it’s key to store it properly to retain its deliciousness. Cover it tightly with plastic wrap or foil and keep it in the refrigerator for up to five days. For longer storage, consider freezing portions—it freezes well and can be a cozy dessert option in the future. When reheating, a quick pop in the oven will bring back its wonderful texture, making it just as delightful as on the first day. Enjoy your pumpkin bliss!
Conclusion on Pumpkin Crisp
Recap of Why You’ll Love This Recipe
To wrap things up, pumpkin crisp is not just a recipe; it’s a cozy embrace in dessert form. Its perfect blend of spices, textures, and that delightful crunch makes it a standout treat for any gathering. You’ll love how the sweetness of pumpkin pairs beautifully with the buttery topping, creating a warm, inviting flavor profile that’s hard to resist.
Plus, it’s incredibly easy to whip up, meaning you can spend less time in the kitchen and more time enjoying your evening with friends. For additional tips and variations, feel free to check out this guide on holiday desserts. Happy baking!
PrintPumpkin Crisp: The Best Cozy Dessert You’ll Love Making

Enjoy the warm flavors of fall with this delicious Pumpkin Crisp, perfect for cozy gatherings.
- Prep Time: 15 minutes
- Cook Time: 45 minutes
- Total Time: 1 hour
- Yield: 8 servings 1x
- Category: Dessert
- Method: Baking
- Cuisine: American
- Diet: Vegetarian
Ingredients
- 2 cups pumpkin puree
- 1 cup brown sugar
- 1 tsp cinnamon
- 1/2 tsp nutmeg
- 1/4 tsp cloves
- 1/4 tsp ginger
- 1/2 tsp salt
- 1/2 cup oat flour
- 1/2 cup rolled oats
- 1/2 cup melted butter
- 1/2 cup chopped pecans
Instructions
- Preheat the oven to 350°F (175°C).
- In a bowl, mix the pumpkin puree, brown sugar, spices, and salt.
- Spread the pumpkin mixture into a greased baking dish.
- In another bowl, combine oat flour, oats, melted butter, and pecans.
- Spread the oat topping over the pumpkin layer.
- Bake for 40-45 minutes until golden brown.
- Let cool before serving.
Notes
- Serve with whipped cream for an extra treat.
- Store leftovers in an airtight container.
Nutrition
- Serving Size: 1 square
- Calories: 320
- Sugar: 18g
- Sodium: 150mg
- Fat: 15g
- Saturated Fat: 7g
- Unsaturated Fat: 6g
- Trans Fat: 0g
- Carbohydrates: 45g
- Fiber: 3g
- Protein: 4g
- Cholesterol: 30mg
Keywords: Pumpkin Crisp, dessert, fall dessert